How to Use CustomTkinter in PythonStepby-Step Guide for Beginners
CustomTkinter is a modern Python library that has become very popular among developers who want to build attractive and user-friendly desktop applications. In traditional Python GUI development, Tkinter is widely used because it is simple, lightweight, and comes pre-installed with Python. However, its biggest weakness is its outdated design, which makes applications look old compared to modern software.
CustomTkinter solves this problem by enhancing Tkinter with modern UI components, dark and light themes, improved widgets, and better styling options. It allows developers to build professional-looking desktop applications without needing advanced design knowledge or complex frameworks. This makes it especially useful for beginners who want to learn GUI development in Python in a simple and practical way.
Understanding CustomTkinter in Simple Words
Before learning how to use CustomTkinter, it is important to understand what it actually is. CustomTkinter is not a completely new GUI framework. Instead, it is an upgraded version of Tkinter. It improves the appearance of Tkinter applications by replacing old-style widgets with modern, visually appealing components.
For example, in normal Tkinter, buttons look very simple and outdated. In CustomTkinter, buttons have rounded edges, smooth hover effects, and modern colors. Similarly, input fields, labels, frames, and sliders all look more professional.
The main goal of CustomTkinter is simple:
To help developers build modern GUI applications easily without complex design work. This makes it perfect for beginners, students, freelancers, and developers who want to build fast and attractive desktop applications using Python.
Why Use CustomTkinter Instead of Tkinter?
Many beginners ask why they should use CustomTkinter when Tkinter already exists. The answer is simple: design and usability.
Tkinter is good for learning programming logic, but its interface looks outdated. If you build an application using Tkinter today, it will not look modern or professional.
CustomTkinter fixes this problem by offering:
- Modern UI design
- Dark mode and light mode support
- Better widget styling
- Improved user experience
- Faster development process
So instead of spending time designing UI manually, developers can focus on building functionality.
Step 1: Installing CustomTkinter in Python
The first step is installation. The good news is that CustomTkinter is very easy to install.
You just need Python and pip installed on your system.
Run this command:
pip install customtkinter
After installation, you can verify it by importing it:
import customtkinter as ctk
If no error appears, it means installation is successful.
There is no complex setup, no configuration files, and no extra dependencies. This simplicity is one of the biggest advantages of CustomTkinter.
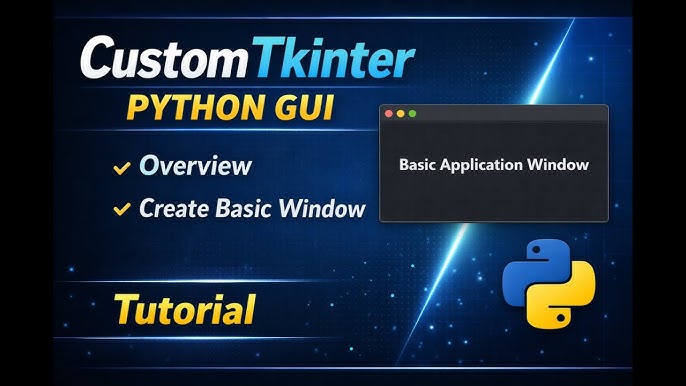
Step 2: Creating Your First CustomTkinter Window
Now let’s create your first GUI window using CustomTkinter.
A window is the main screen where all your application components appear.
Example:
import customtkinter as ctk
app = ctk.CTk()
app.geometry(“500×400”)
app.title(“My First CustomTkinter App”)
app.mainloop()
Explanation:
- CTk() creates the main application window
- geometry() sets window size
- title() sets the window title
- mainloop() runs the application
When you run this code, a modern-looking window will appear on your screen.
This is your first step into GUI development with CustomTkinter.
Step 3: Adding Labels in CustomTkinter
Labels are used to display text in your application.
Example:
label = ctk.CTkLabel(app, text=”Welcome to CustomTkinter”)
label.pack(pady=20)
What happens here:
- CTkLabel creates a text label
- pack() places it in the window
- pady adds vertical spacing
Labels are commonly used for headings, instructions, or messages.
In CustomTkinter, labels look clean and modern compared to Tkinter.
Step 4: Creating Buttons in CustomTkinter
Buttons are one of the most important elements in any GUI application. They allow users to interact with your program.
Example:
def click_button():
print(“Button clicked!”)
button = ctk.CTkButton(app, text=”Click Me”, command=click_button)
button.pack(pady=10)
Explanation:
- CTkButton creates a button
- command connects it to a function
- When clicked, it runs the function
CustomTkinter buttons are modern, with smooth hover effects and better styling.
Step 5: Adding Input Fields (Entry Widgets)
Entry widgets allow users to input data such as names, passwords, or numbers.
Example:
entry = ctk.CTkEntry(app, placeholder_text=”Enter your name”)
entry.pack(pady=10)
To get user input:
def show_data():
value = entry.get()
print(“User entered:”, value)
Entry widgets are very important in login systems, forms, and data entry applications.
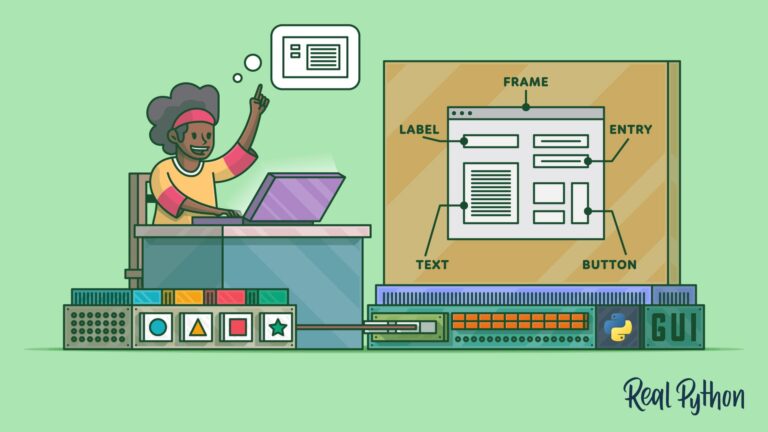
Step 6: Using Frames for Layout Organization
Frames help organize your application into sections. They are like containers that hold other widgets.
Example:
frame = ctk.CTkFrame(app)
frame.pack(pady=20, padx=20)
label = ctk.CTkLabel(frame, text=”Inside Frame”)
label.pack()
Frames help create structured and professional layouts, especially for dashboards and complex applications.
Step 7: Layout Management in CustomTkinter
Layout management controls how widgets are arranged in the window. CustomTkinter supports three main layout methods:
1. pack()
Simple and automatic layout.
2. grid()
Used for table-like structured layouts.
3. place()
Used for exact positioning.
Example using grid:
label.grid(row=0, column=0)
entry.grid(row=0, column=1)
For beginners, pack() is easiest, but grid() is more powerful for structured applications like forms.
Step 8: Dark Mode and Themes in CustomTkinter
One of the most powerful features of CustomTkinter is theme support.
You can easily switch between light and dark mode:
ctk.set_appearance_mode(“dark”)
Options:
- light
- dark
- system
You can also set color themes:
ctk.set_default_color_theme(“blue”)
Themes make your application look modern and user-friendly without extra effort.
Step 9: Building a Simple Login Application
Now let’s combine everything into a real project.
import customtkinter as ctk
app = ctk.CTk()
app.geometry(“400×300”)
ctk.set_appearance_mode(“dark”)
label = ctk.CTkLabel(app, text=”Login Form”)
label.pack(pady=10)
username = ctk.CTkEntry(app, placeholder_text=”Username”)
username.pack(pady=10)
password = ctk.CTkEntry(app, placeholder_text=”Password”, show=”*”)
password.pack(pady=10)
def login():
print(“Username:”, username.get())
print(“Password:”, password.get())
button = ctk.CTkButton(app, text=”Login”, command=login)
button.pack(pady=10)
app.mainloop()
What this project does:
- Creates a login window
- Takes username and password
- Prints values when login button is clicked
This is a simple but real-world example of how CustomTkinter works.
Step 10: Real-World Applications of CustomTkinter
CustomTkinter is used in many real projects such as:
Desktop utilities
Admin dashboards
Automation tools
Data entry systems
Educational apps
Small business software
Developers prefer it because it is fast, simple, and looks modern.
Advantages of CustomTkinter
CustomTkinter has many advantages:
Easy to learn for beginners
Modern UI design
Dark mode support
Fast development
Lightweight performance
Better user experience
These benefits make it one of the best choices for Python GUI development.
Limitations of CustomTkinter
Even though it is powerful, it has some limitations:
Not suitable for very advanced applications
Limited animation support
Depends on Tkinter internally
For large-scale applications, frameworks like PyQt or Kivy may be better.
Why Beginners Should Learn CustomTkinter
CustomTkinter is perfect for beginners because it allows them to:
Learn GUI concepts easily
Build real projects quickly
Understand event-driven programming
Create portfolio projects
It gives confidence and practical experience in Python development.
FAQs
1. What is CustomTkinter used for?
CustomTkinter is used to create modern desktop GUI applications in Python.
2. Is CustomTkinter easy for beginners?
Yes, it is very beginner-friendly and easy to learn.
3. Do I need Tkinter before CustomTkinter?
No, but basic knowledge helps.
4. Can I build real applications with it?
Yes, like login systems, dashboards, and tools.
5. Is CustomTkinter free?
Yes, it is completely free and open-source.
6. Does CustomTkinter support dark mode?
Yes, it supports light, dark, and system themes.
7. What are its limitations?
It is not suitable for very complex or animation-heavy apps.
Conclusion
CustomTkinter is a modern Python GUI library that enhances Tkinter by adding beautiful design, themes, and improved widgets. It is simple, lightweight, and very beginner-friendly. By following this step-by-step guide, anyone can start building modern desktop applications using Python without difficulty.